Using Loops
Loops are an important part of controlling the flow of how your Prog commands run. Proggy comes with two types of loops to help in the design of your commands.
If you come from a programming background, the names of these loops should already be familiar to you. If you do not have much prior knowledge in coding, do not worry. The loop designs should be easy to understand.
1. What are loops?
Before we begin, let’s talk about what loops are and why are they might be useful.
You may find that in the design of your Prog command, there are steps you want to repeat a certain number of times. Perhaps these steps are almost the same except that you need to change one variable every time it runs.
When you design these Prog commands, it may be cumbersome to have to duplicate this set of steps which are almost the same.
To make things easier, you can use loops. There are two types of loops: (1) While Loops and (2) For Each Loops.
2. “While” Loops
“While” Loops are loops that will continuously run (from start to finish, and then back to the start again).
This type of loop requires a variable to be specified, which will be evaluated after every time the loop begins. If the variable evaluates to true, the loop will begin its cycle. However, if the variable evalutes to false, then the loop will break out its cycle.
Let’s take a look at a concrete example:
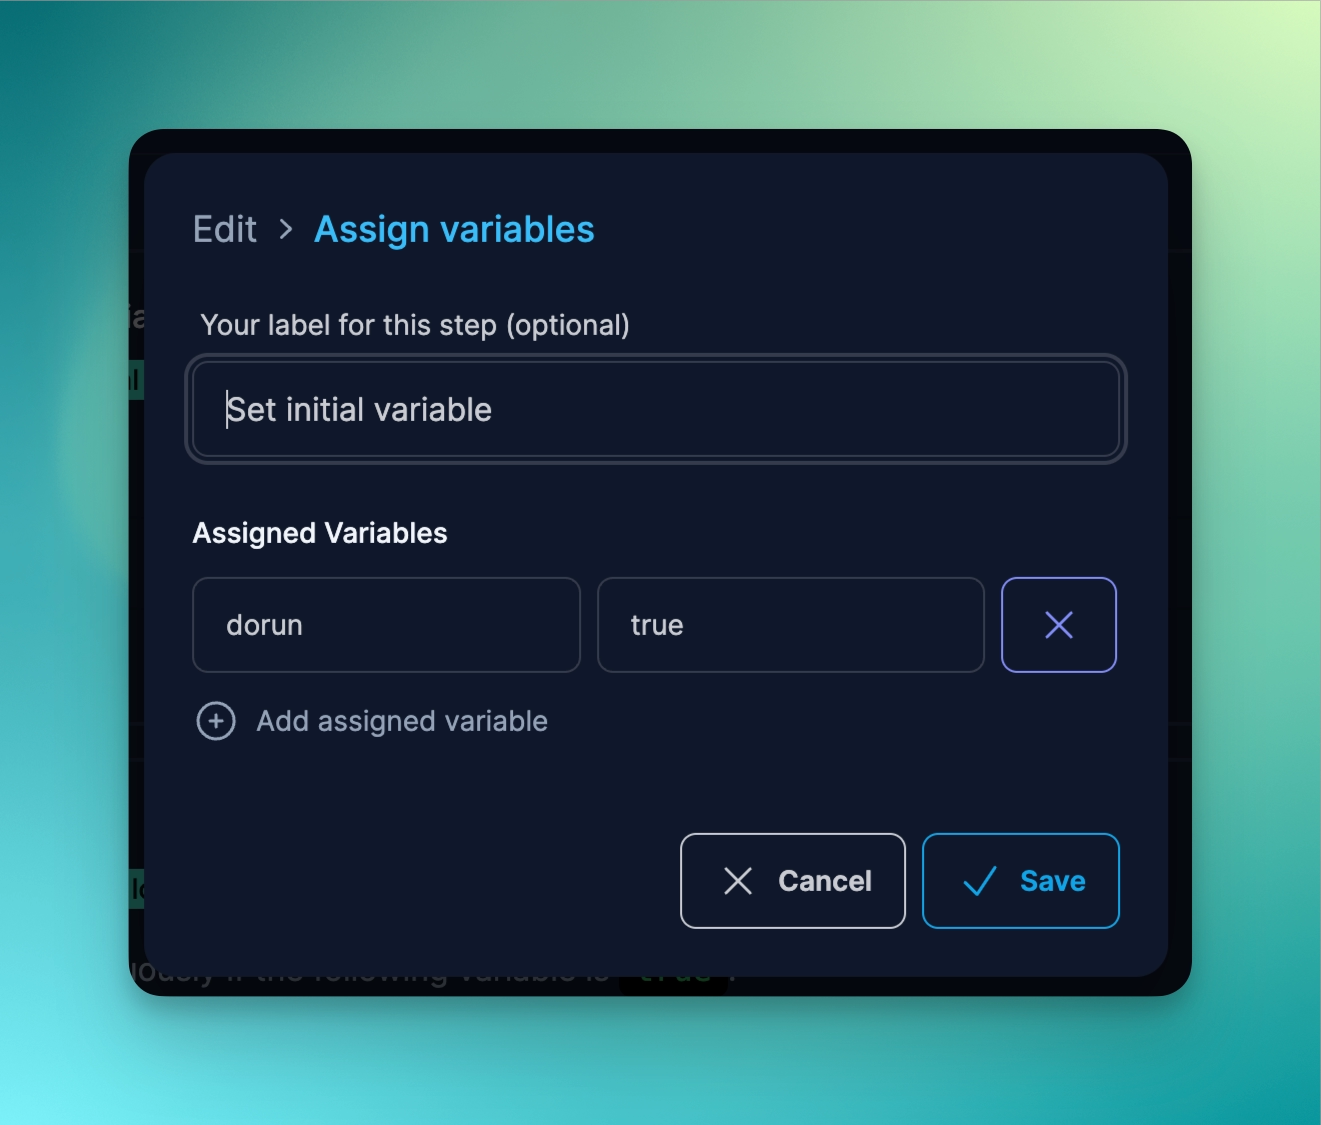
First we will set a variable called dorun. Using the Assign Variables directive, add a dorun value and set it to true:
Next, we will create a while loop, and set the variable to be evaluated to be {{ dorun }}.
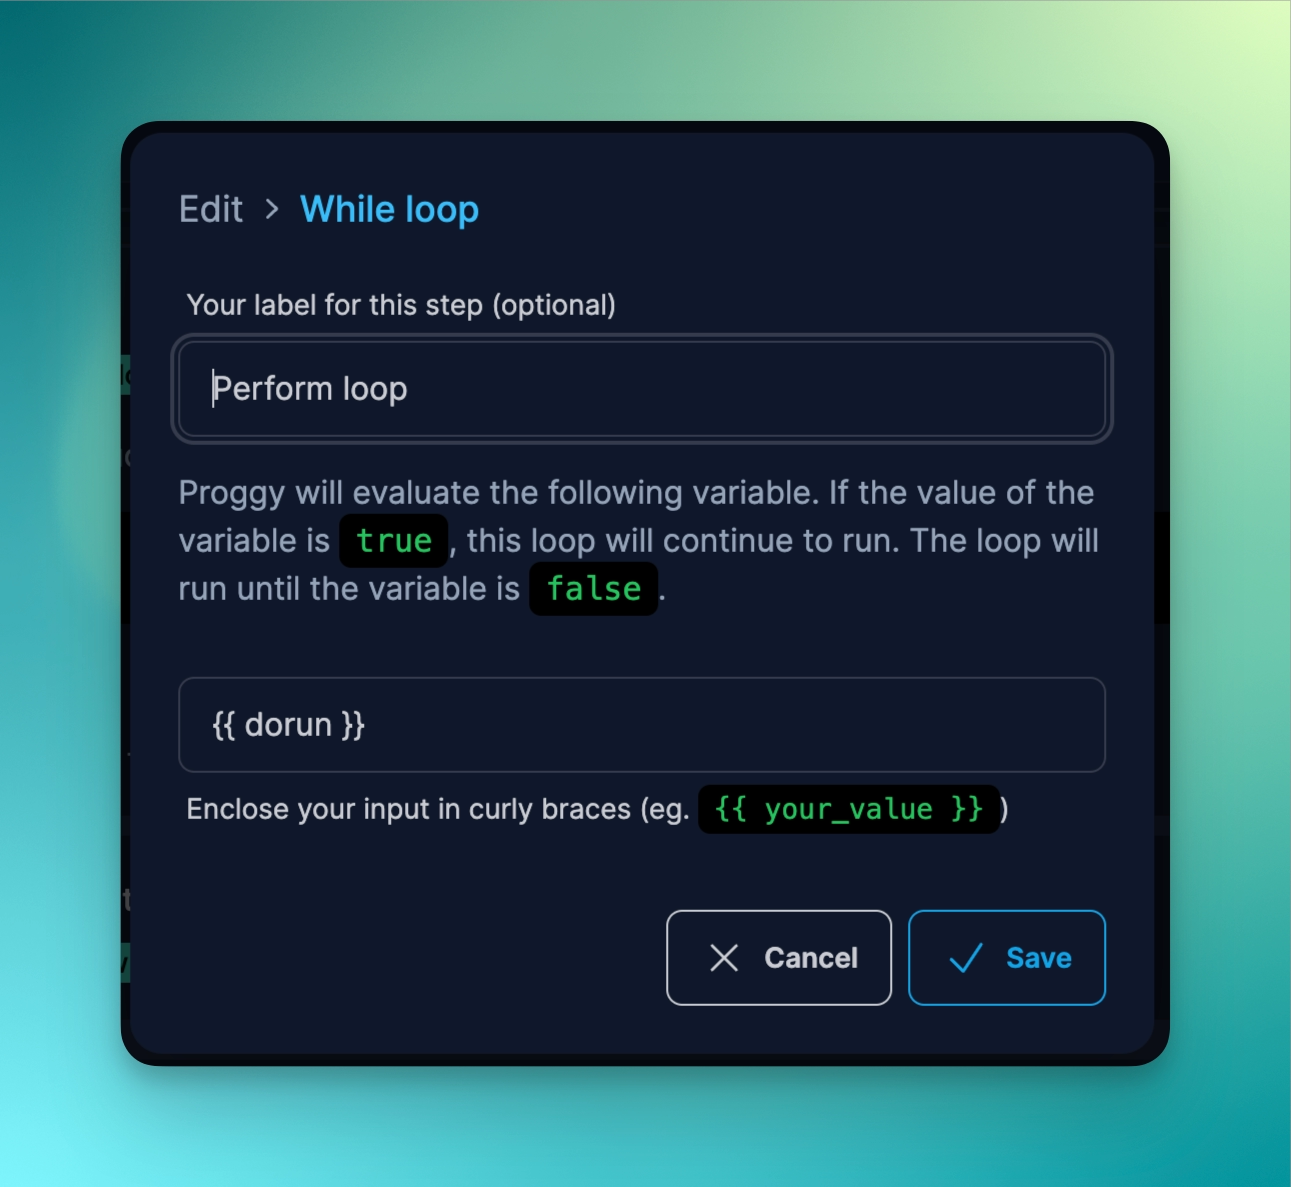
What Proggy will do is that it will continue to execute this loop repeatedly if dorun is equal to true. In order to break out of the loop, we will need to set it as false some time later. In the next steps, we will show you how to do this.
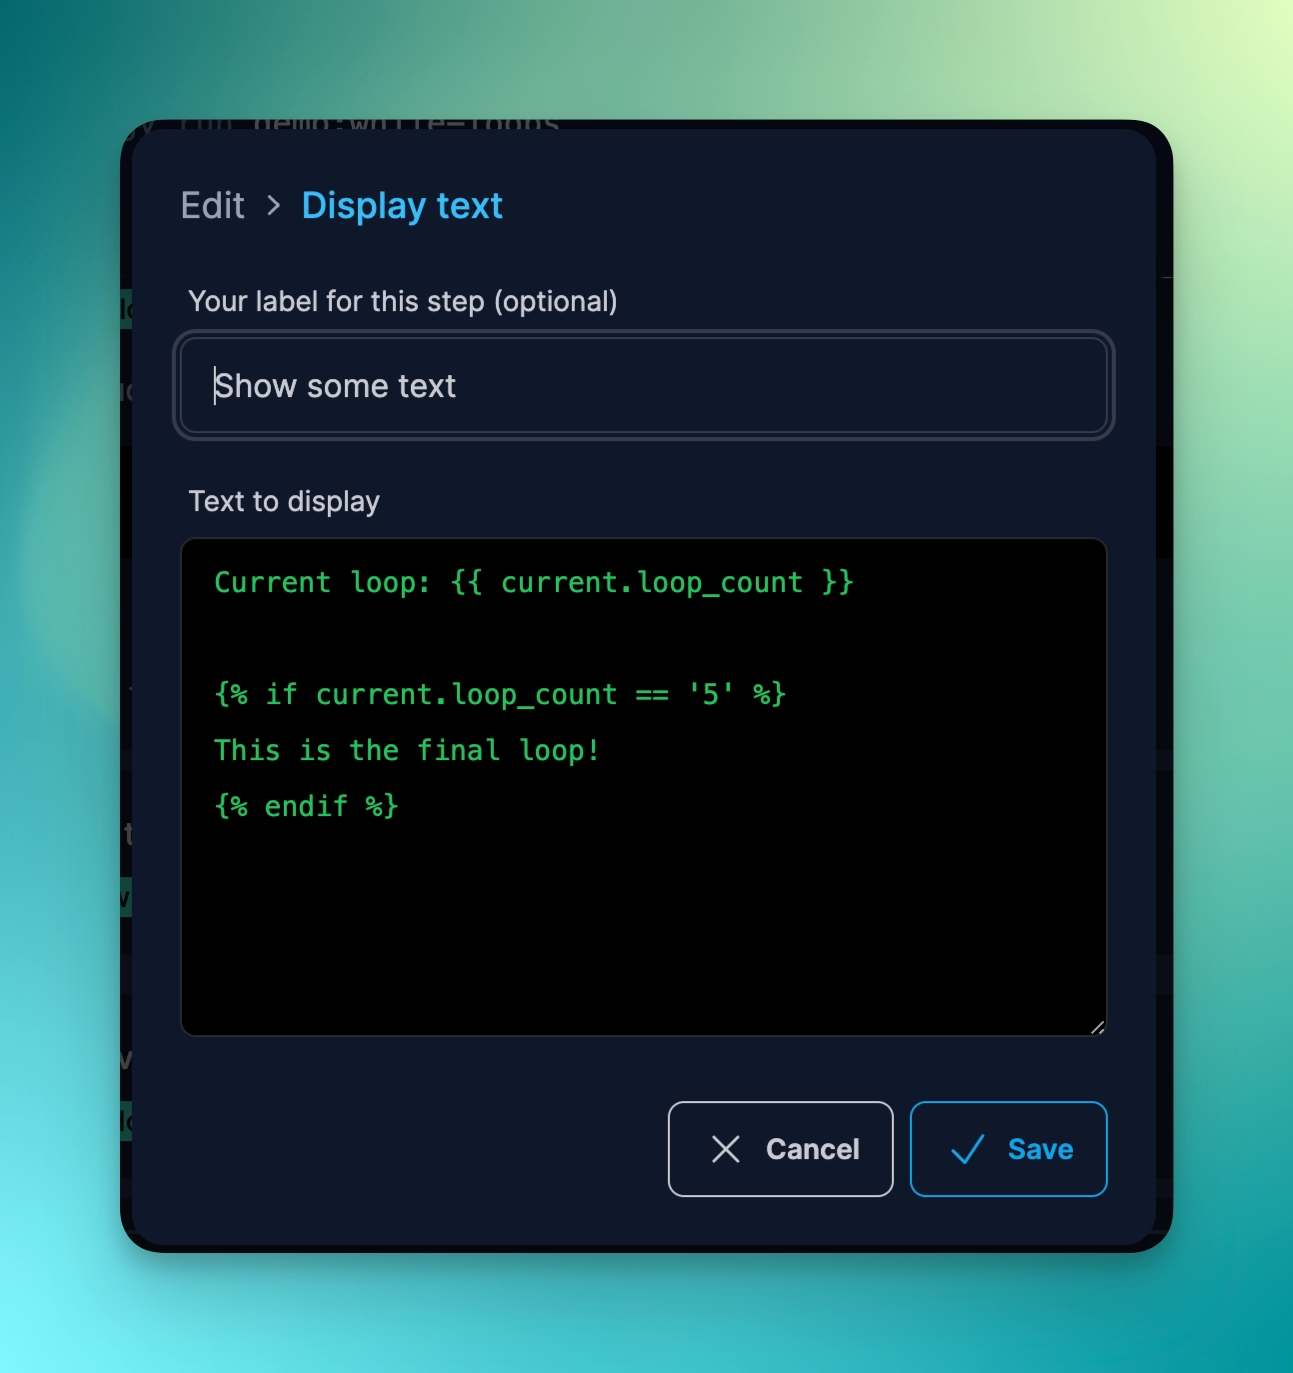
Inside this loop, we will display some text to know that the loop is working.
Within each While Loop, you will have access to a variable called current.loop_count. You can use this variable to keep track of the number of times your loop has run from within the loop.
Finally, we will stop the loop by changing the variable after the loop has completed 5 times. To do this, we will use another Assign Variable directive, but we will set dorun to false. This will override the earlier value of true which we set earlier.
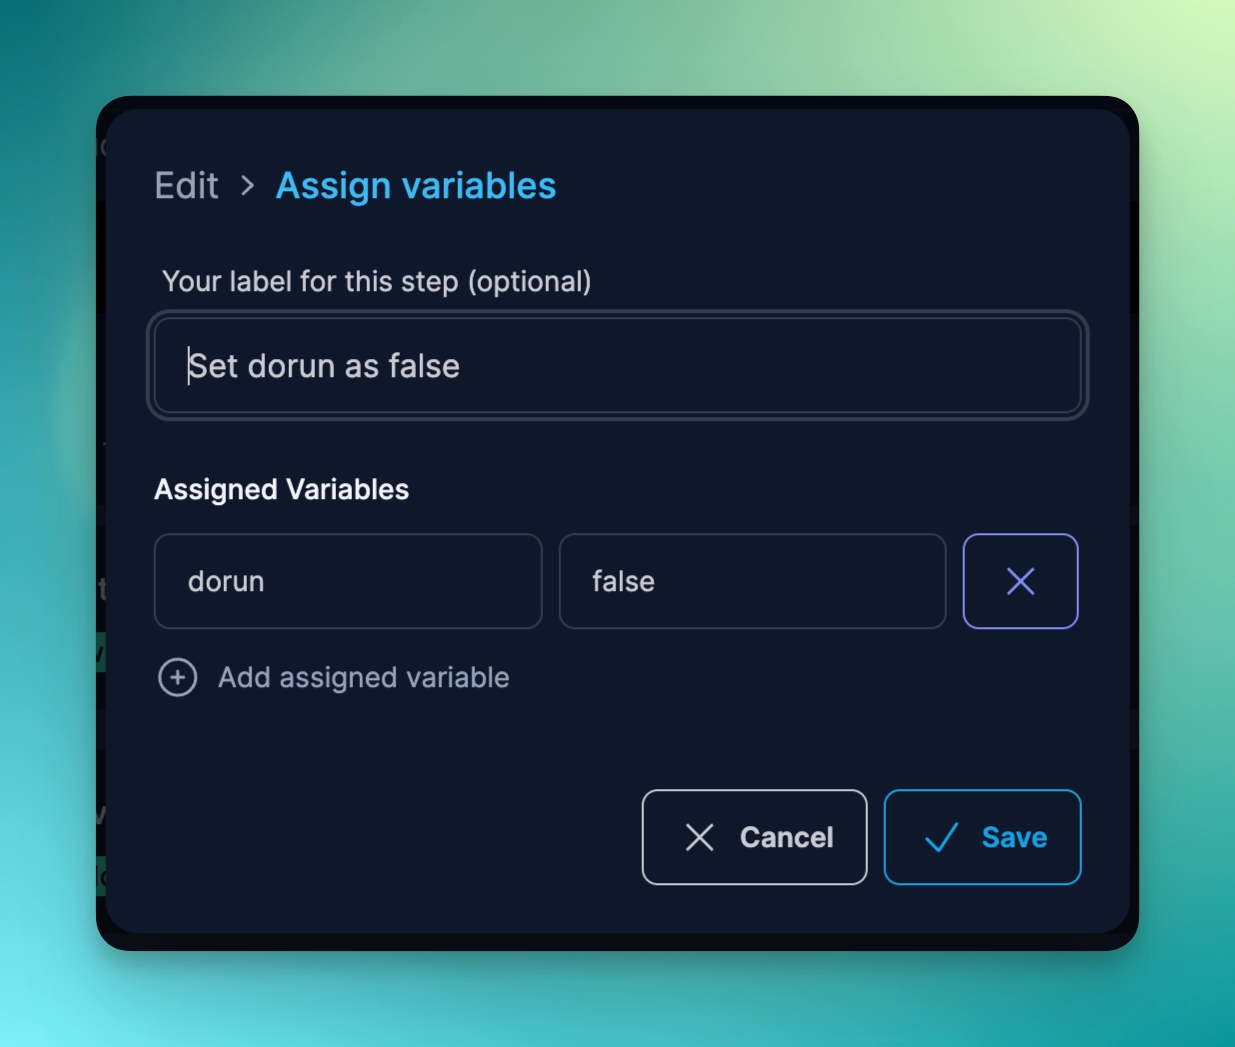
To ensure that the while loop runs for 5 times as we intended, we will add a condition on this Assign Variable step.
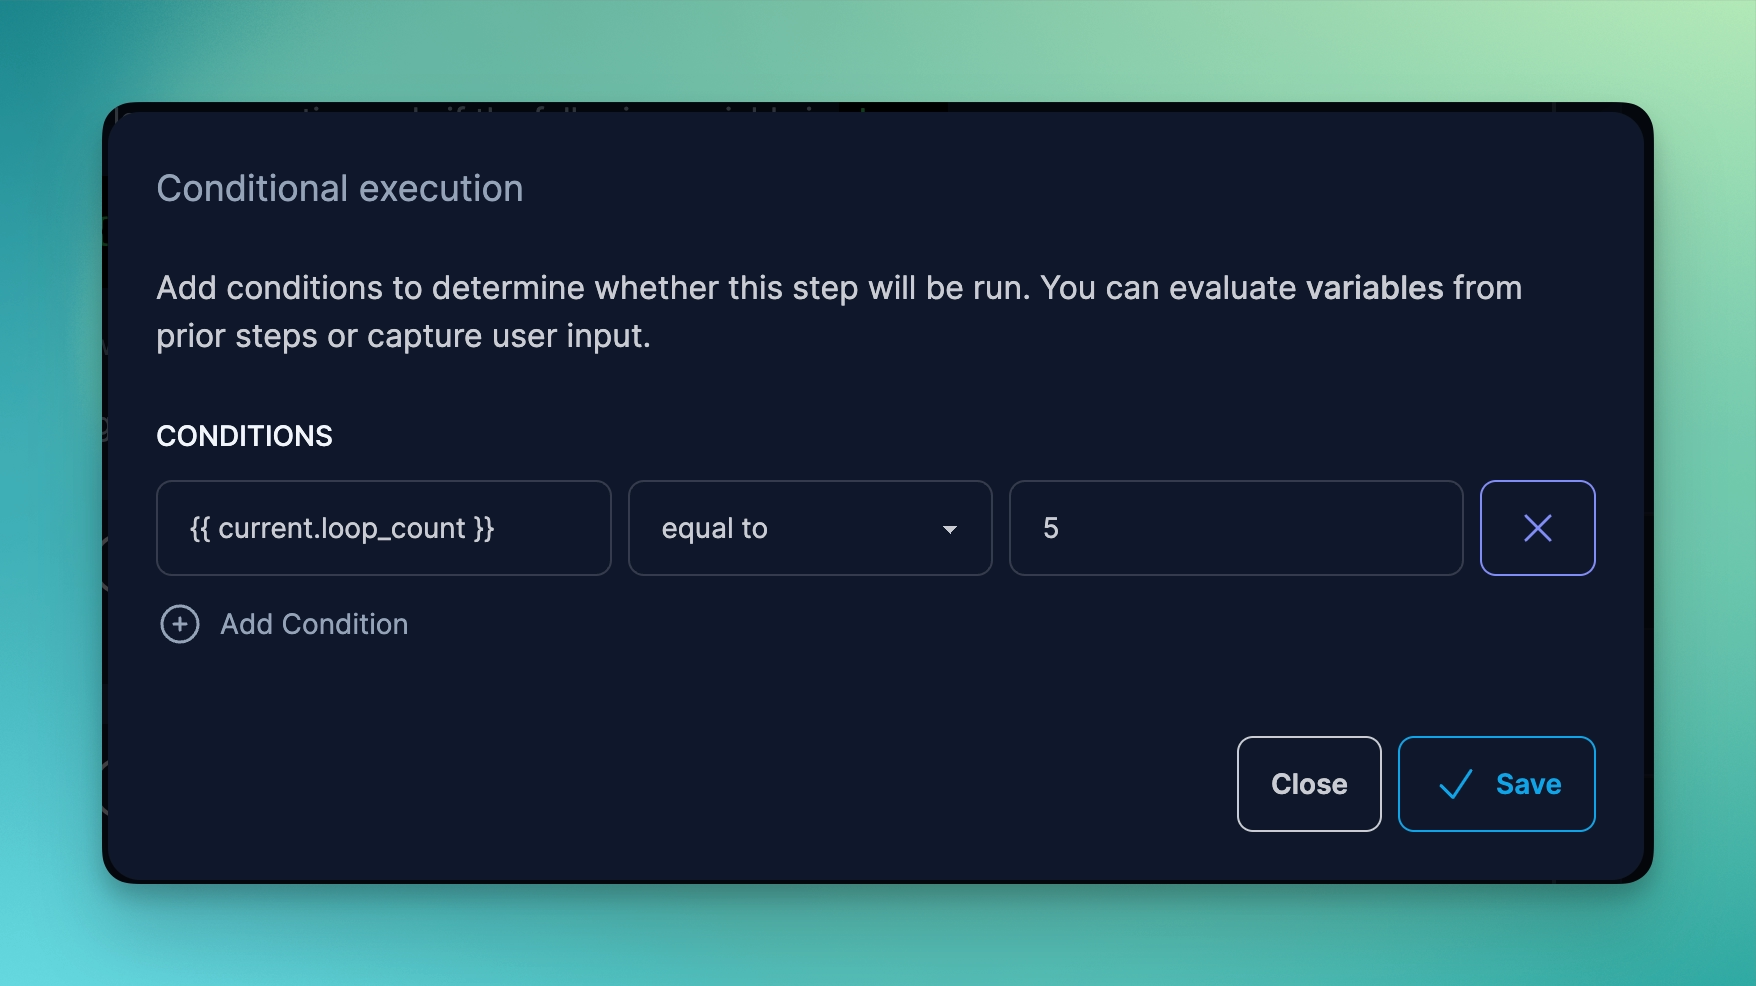
Again, you can see that we are referencing the current.loop_count variable which is available to us from within the loop to know when the loop count is in its 5th time of execution.
To try this yourself, check out official/demo:while-loops
3. “For Each” Loops
The second type of loop is the “For Each” Loop. For this type of loop, you must pair with it an Assign List or a Assign Key Value Pair directive.
Once paired, the loop will iterate through each item in the list or pairs, and apply a current variable for you to reference those items from within the loop.
For Assign List, you get the following variables which you can use within the loop:
| Variable name | Description |
|---|---|
| current.item | The current item |
| current.length | The total length of the array list |
| current.loop_count | The current iteration through the loop |
| current.index | The progmatic index of the item |
For Key/Value Pairs, you get the following variables:
| Variable name | Description |
|---|---|
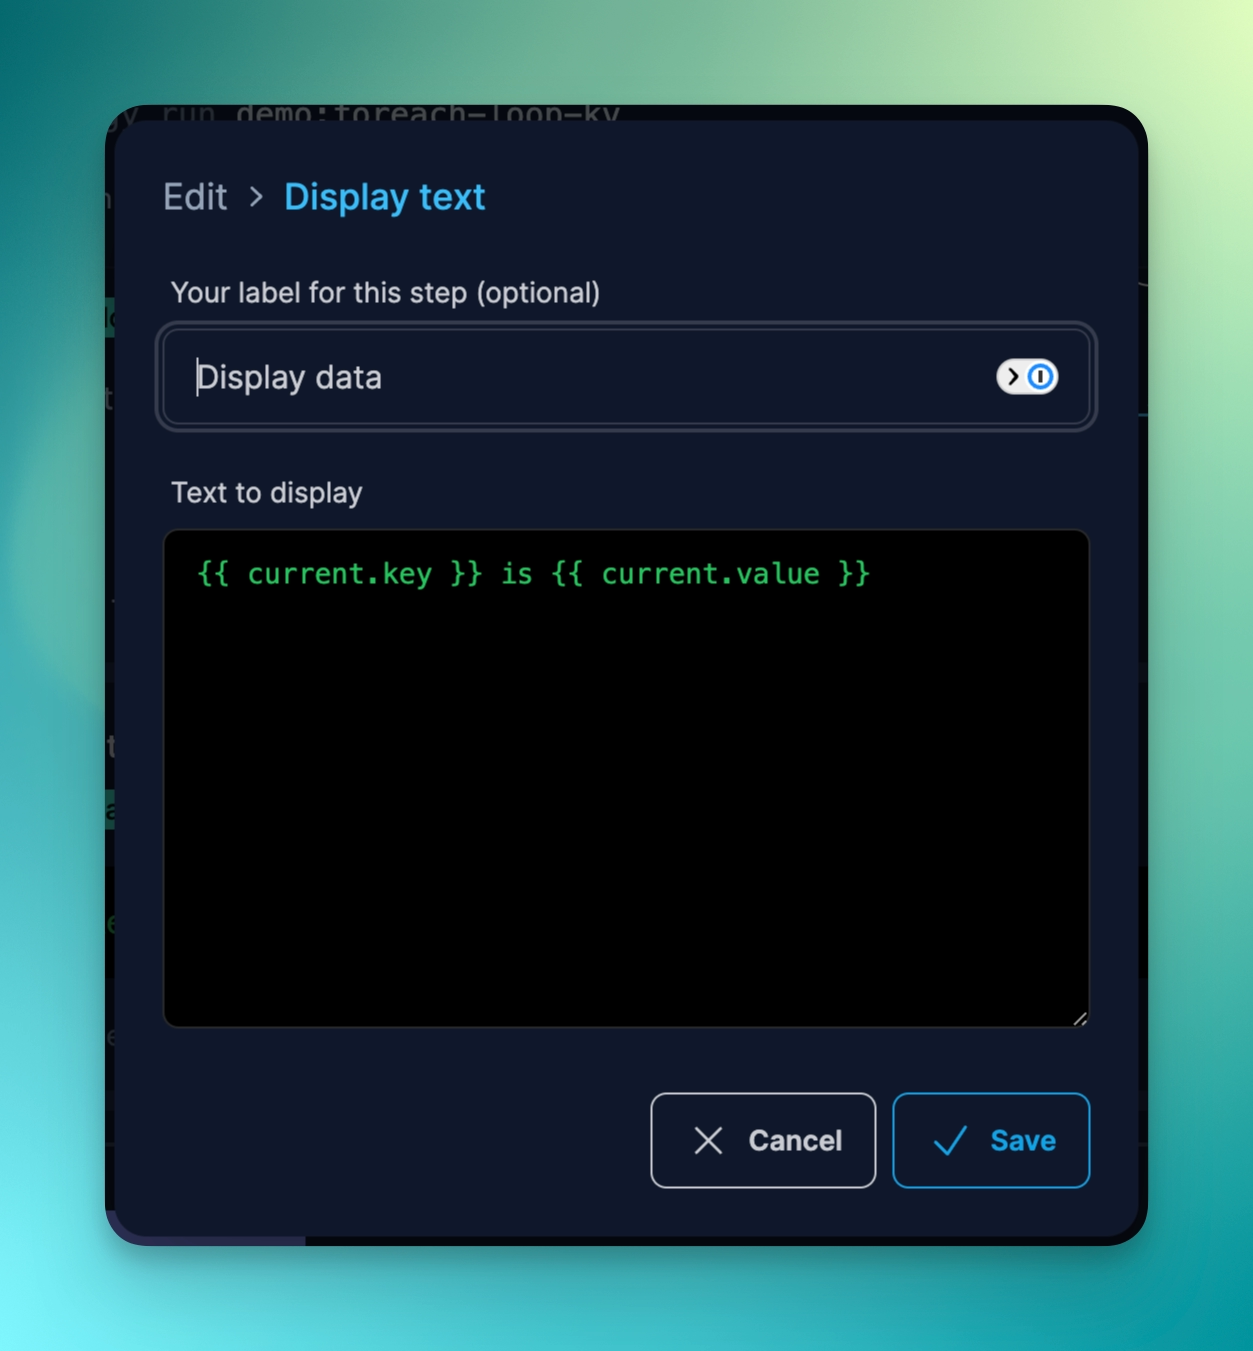
| current.key | The current item’s key |
| current.value | The current item’s value |
| current.length | The total length of the array list |
| current.loop_count | The current iteration through the loop |
| current.index | The progmatic index of the item |
Let’s take a closer look to see how each of these data types are used within a For Each Loop.
Using “For Each” Loops with Array Lists
We will set up a simple array list with some arbitrary values:
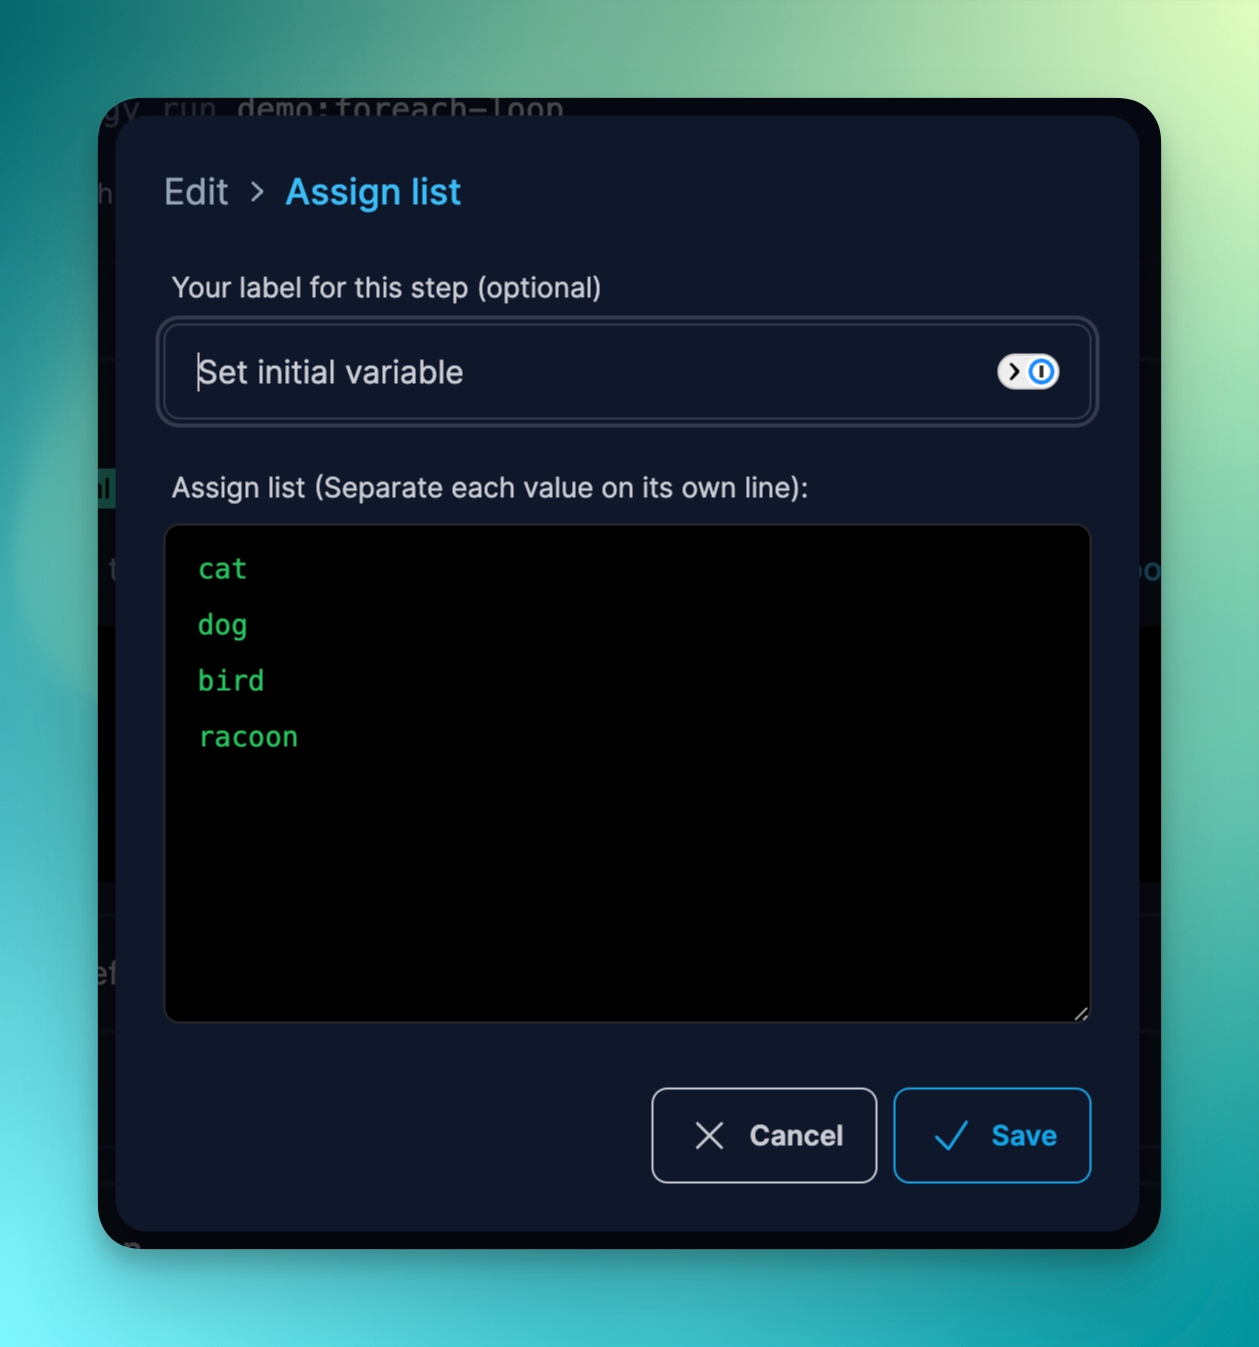
Once we have this, we can create a For Each Loop, and specify the list here as the data source:
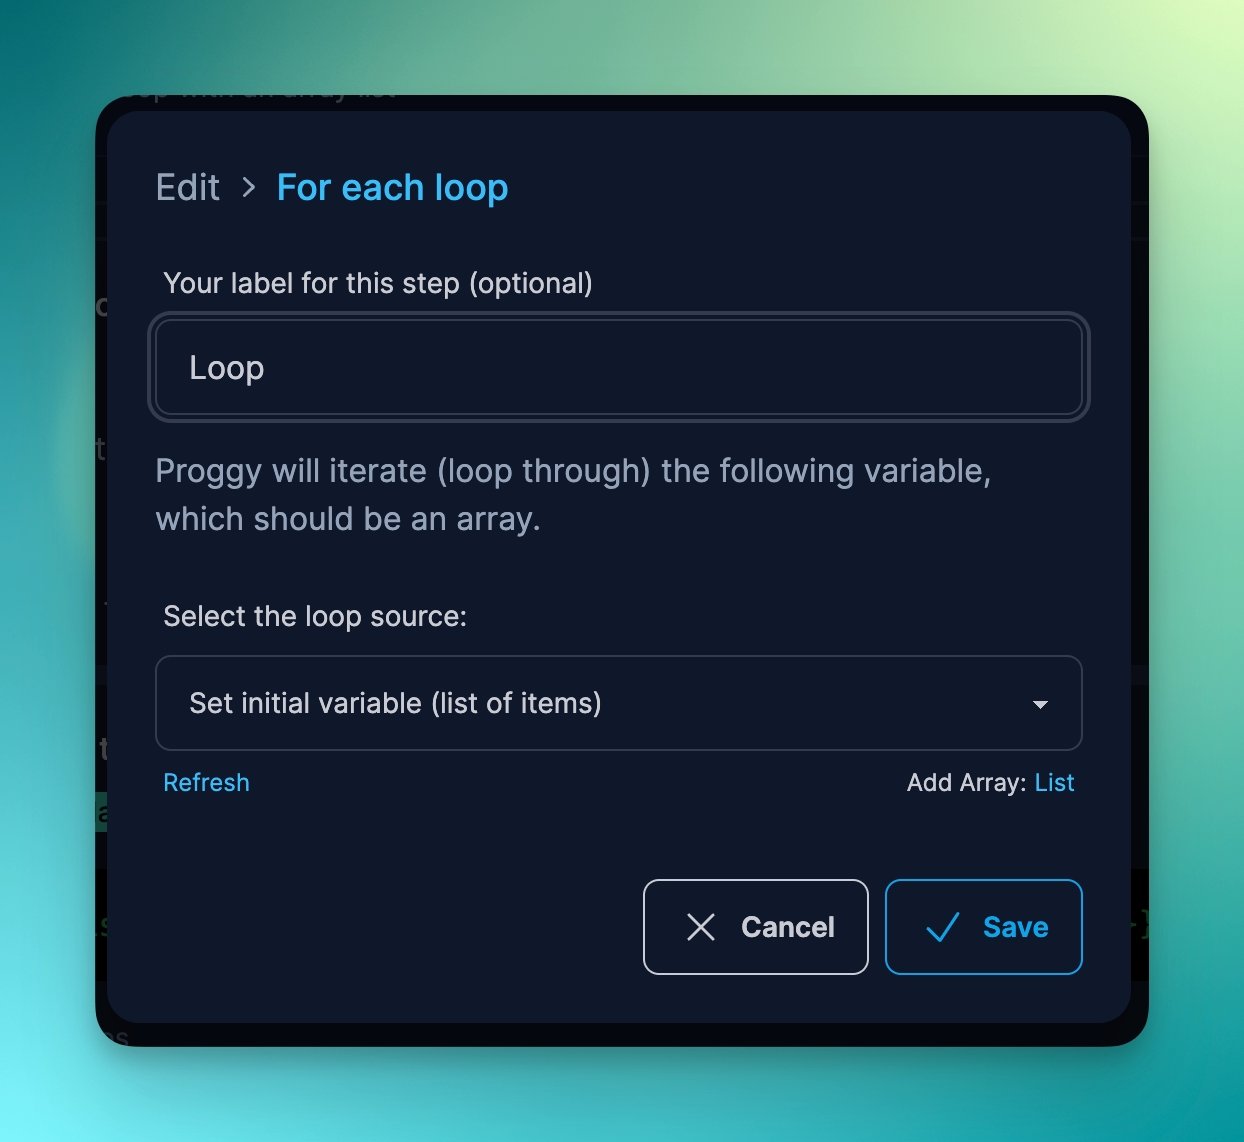
Now we can add a Display Text directive here to run within the loop and display our list, one-by-one:
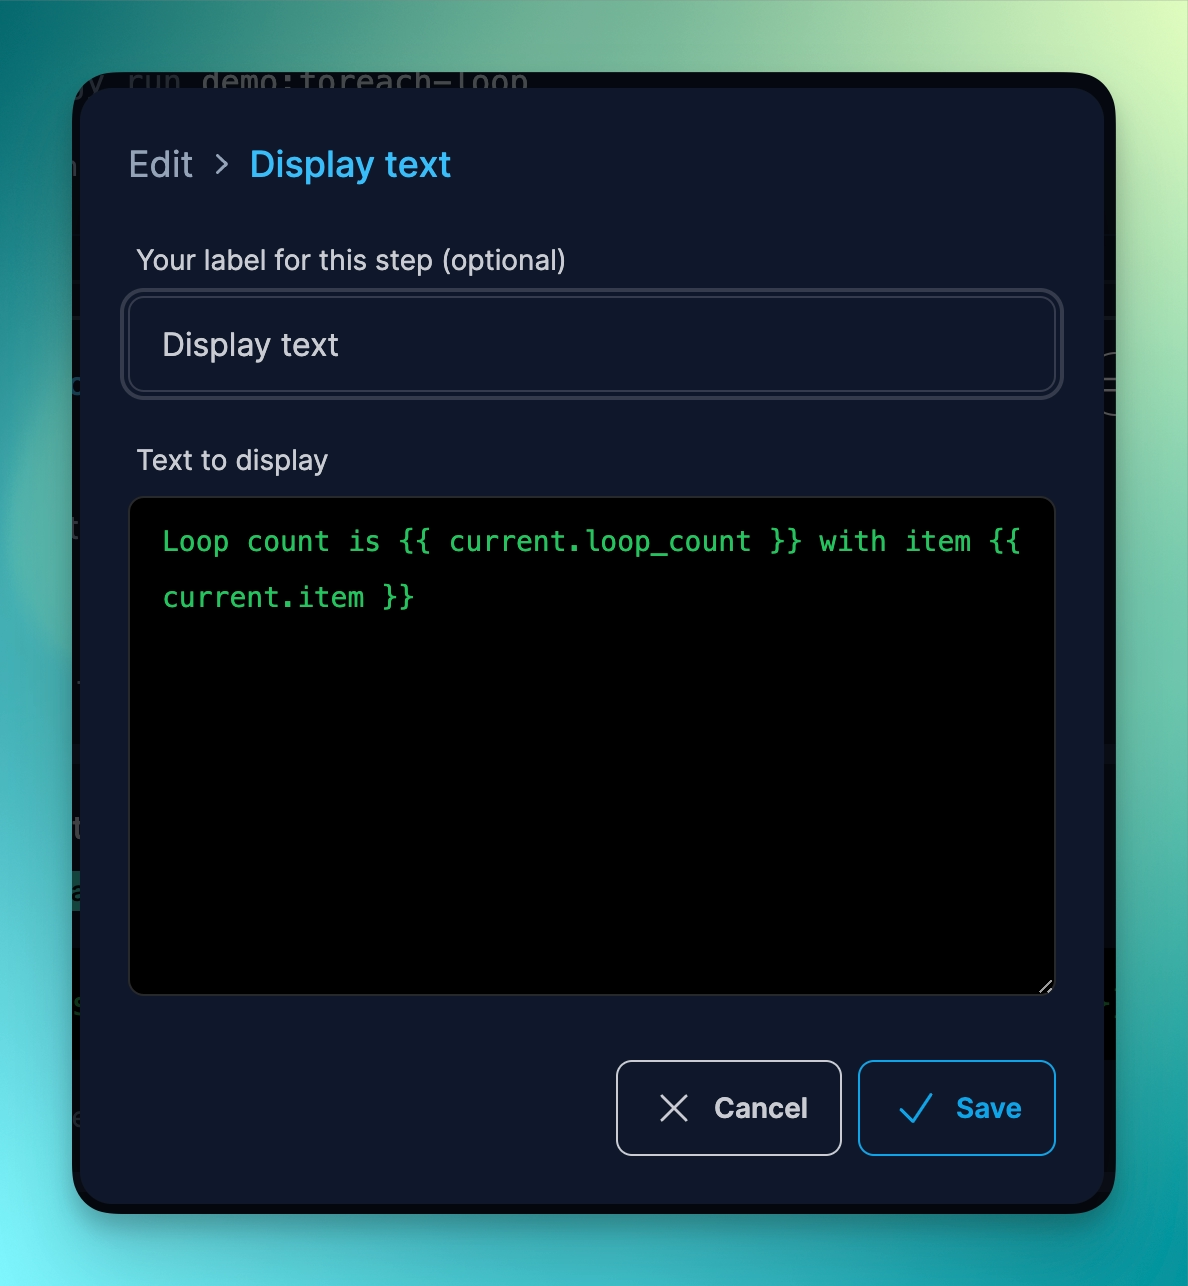
To try this yourself, check out demo:foreach-loop
Using “For Each” Loops with Key/Value Pairs
In this next example, instead of using a “flat” list of values, we will use a Key/Value pair. This allows us to add additional information, such as the type of information set.
Let’s set some key/value pairs:
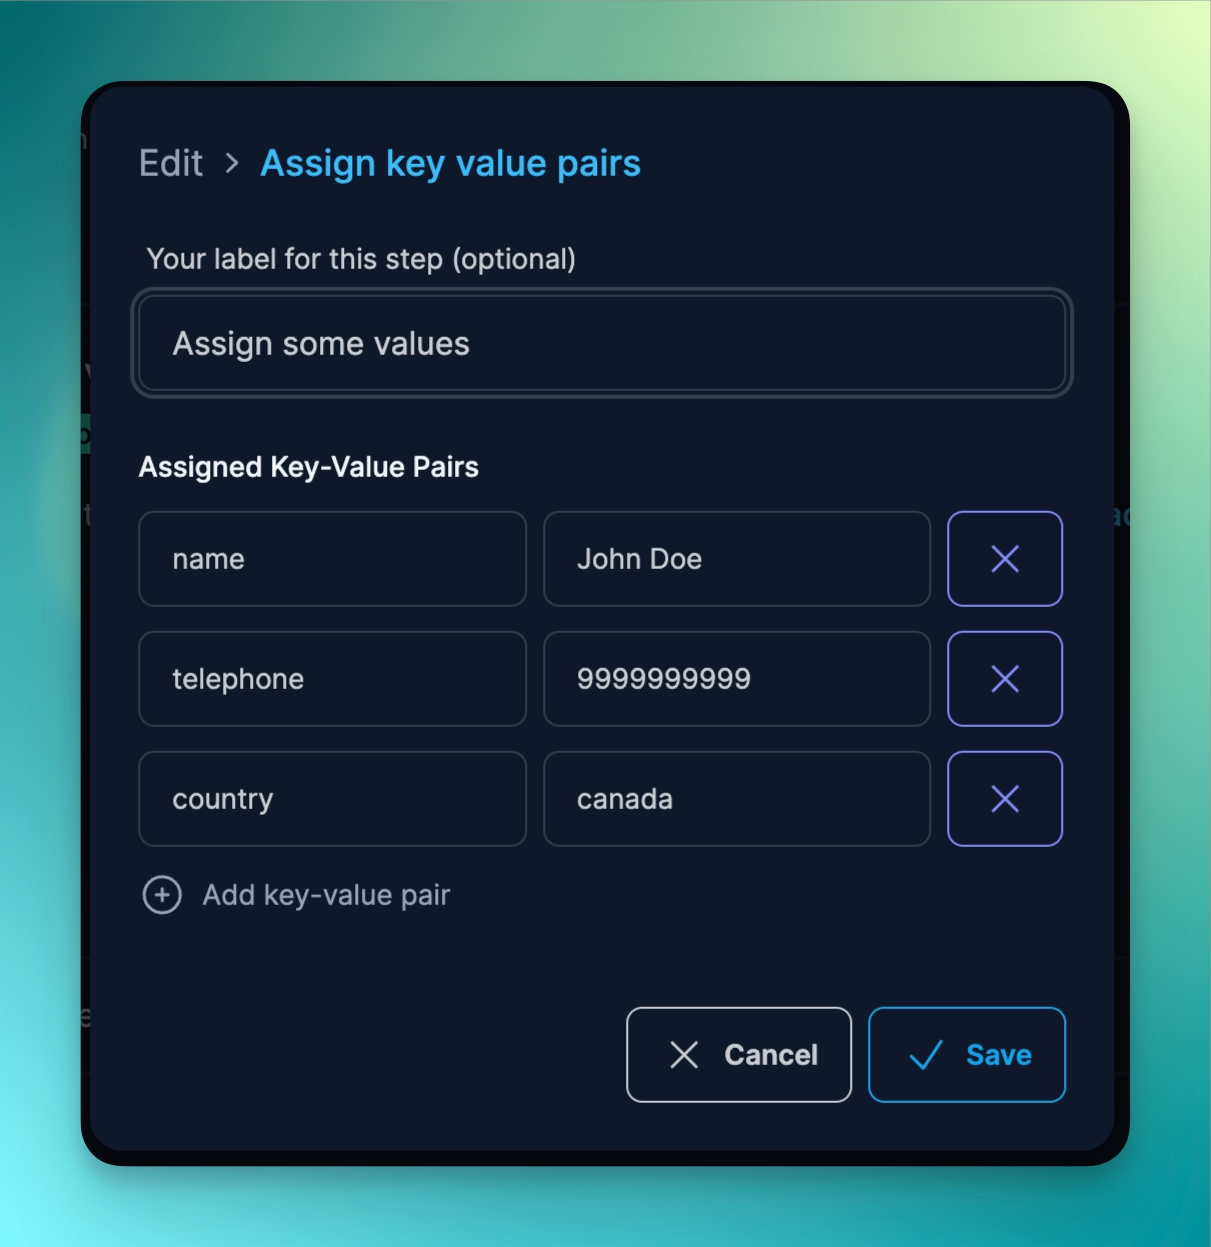
Similar to before with the Array List, we will create a For Each Loop, but we will set the data source to the just-created Key/Value Pair directive.
Now, we can display some text within each loop’s iteration:
To try this yourself, check out demo:foreach-loop-kv